A yarn swift is something that holds a hank of yarn so you can wind it into a ball or skein. Here’s a useful link on the typical ways to package yarn, in case you’re not familiar.
When I was mostly buying relatively inexpensive yarn at the craft store for amigurumi, I’d get it in skein form and be ready to go. Which is awesome! But those ultra-washable bright coloured acrylics that I enjoy for crochet don’t work as well for some of the fancier knitting patterns and colour work I want to do now — it really helps to have some forgiving natural fiber that can be wetted and reshaped to look just so.
(Yarn snobs here might give me a hard time over the synthetic yarns, but they still have a place in my repertoire!)
So the end result is that I get a lot more yarn in “hank” form, and while I find winding balls to be pretty relaxing, I don’t love trying to wrap the yarn around my knees and keep it from getting tangled as I do it.
Thankfully, the internet knows how to make a yarn swift. I modified this a bit, because I didn’t care as much about portability and I wanted something a bit smoother with some real ball bearings in there, so when John and I were wandering around the hardware store finding parts, he came up with the idea of using a Lazy Susan bearing.
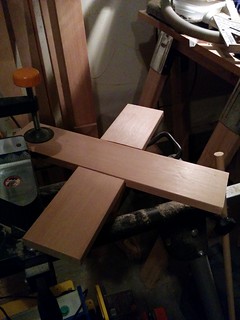
This one was a joint effort between me and John, with him doing a lot of the heavy work and me doing more of the detailing. I feel a bit silly about this, as I’d intended to do it myself, but he’s got much steadier hands and greater strength so it’s probably safer to have him to it. He did teach me to use the router, though, which is one of the few pieces of woodworking equipment we own that I’d never used!
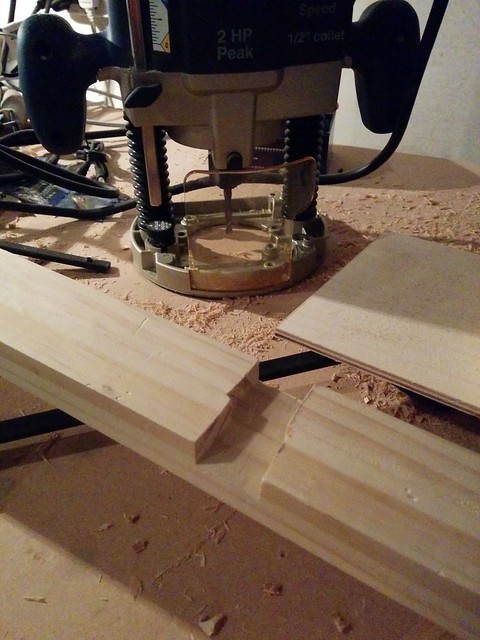
But mostly I took photos and measured and turned things over to John for drilling or cutting:
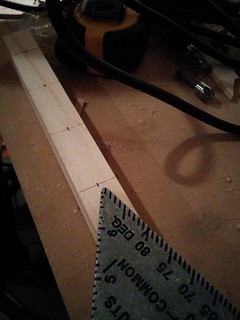

I also cleaned the garage workspace, vacuumed, and at least tried to keep him company. I also did some sanding and hand filing for things that didn’t quite match up. As you may have noticed in that earlier picture, neither of us is super precise at the routing.

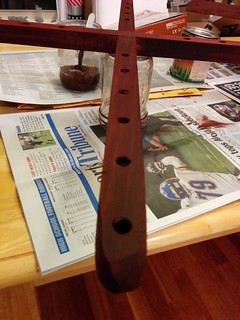
I asked John to round the ends so they wouldn’t catch on the yarn, and he did a lovely job, then I stained the whole thing up, let it dry, and reassembled it… only to find that the pegs for holding the yarn no longer fit in the holes due to expansion. Oops. A bit of drilling later, though, and we got it up and running.
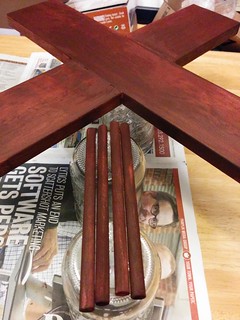
Stained pieces:
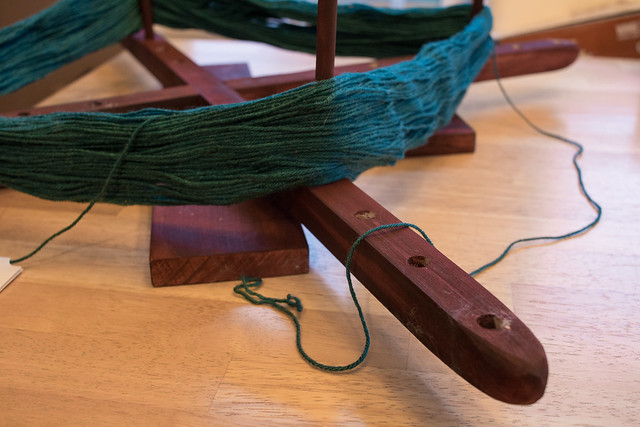
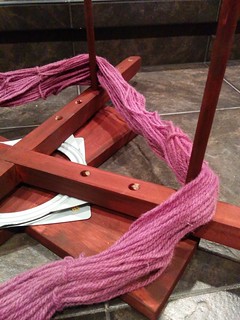
First test with yarn!
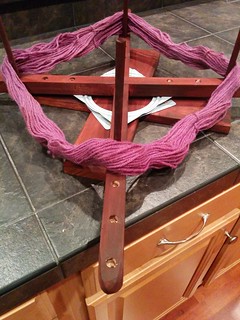
You might recognize the stain as the same one I used on Puppy K-9, as this is the only stain we own.
Here’s the final product:
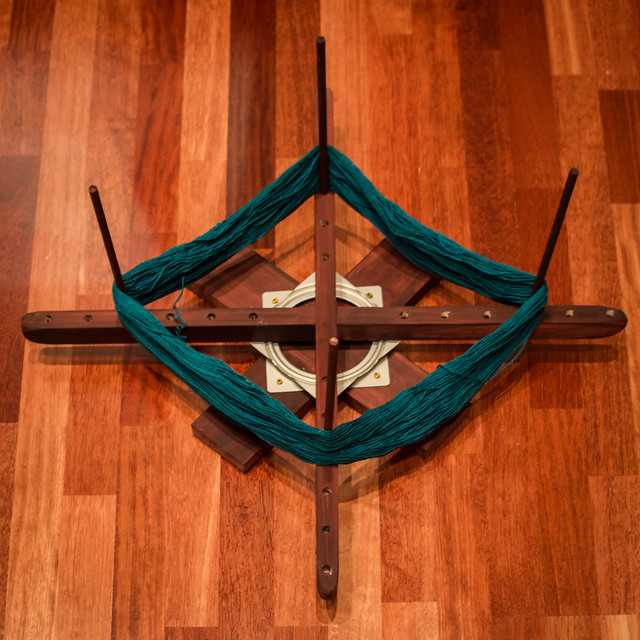
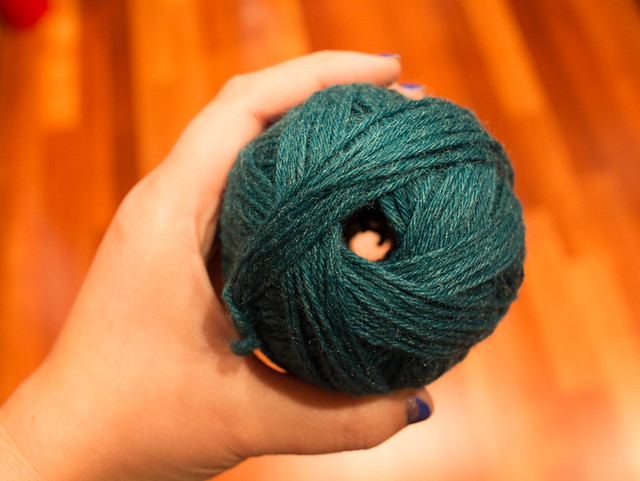
I’m pretty happy with it! I wish I’d looked for a smaller bearing than the lazy Susan as I found out that it’s possible to fit a yarn tail into the bearings where it gets all slimy from the lubricant. But that’s what the store had, and it does make this a pretty solid device. And I only got the yarn tail caught once out of the 5 balls I’ve done on it so far, so it’s reasonably avoidable if you know you need to wind up the tail on a pole.
I do like how it looks so fancy all stained up. I was worried that I’d find it too bulky and be sad I hadn’t gone with the collapsible version, but I’m actually kind of tempted to try sticking it to the wall with that 3m wall hook stuff and seeing if I can use it as functional art!